Fellow craft enthusiasts, if you're ready to unleash your creativity and dive into the wonderful world of crafting, then let's get to it!
In this article, I've gathered 10 easy and fun craft tutorials that are perfect for beginners like you. Whether you're looking to explore a new hobby or create personalized gifts, these tutorials will surely inspire you. So go ahead, grab your crafting supplies, and let's get started on our crafting adventure!
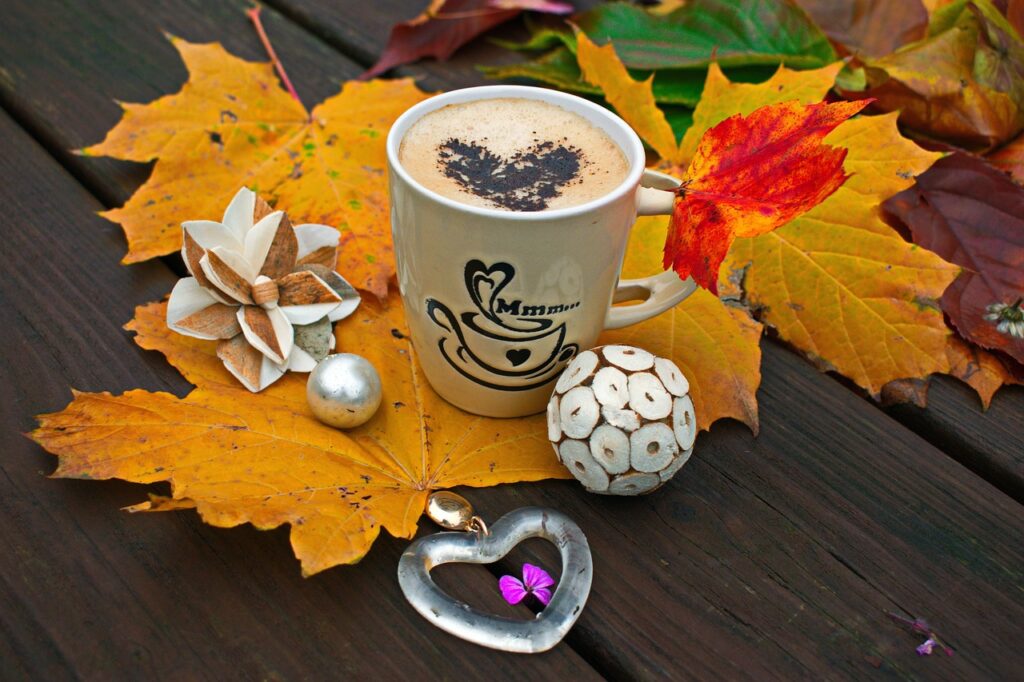
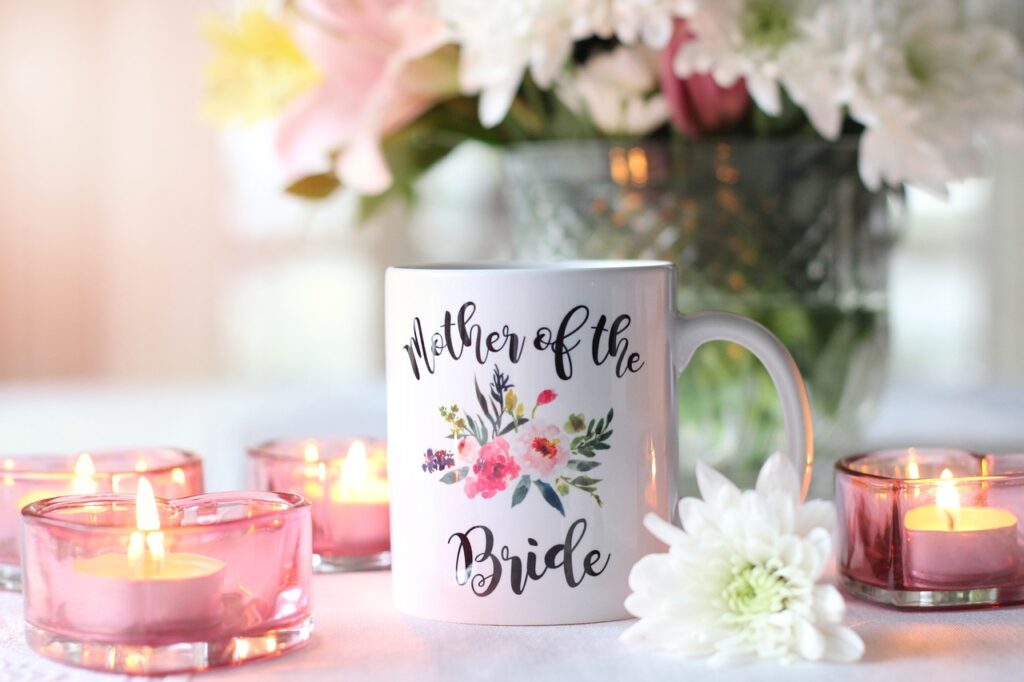
1: Personalized Coffee Mugs
Materials: For this fun and easy craft, you'll need plain white coffee mugs, permanent markers in various colors, and an oven.
Step-by-Step Tutorial:
1. Start by cleaning your coffee mug thoroughly to ensure the surface is free from any dirt or oil.
2. Use the permanent markers to draw or write your desired design directly onto the mug. Let your imagination run wild!
3. Once you're satisfied with your design, place the mug in a cool oven and heat it to 350°F (175°C) for 30 minutes. This will help set the ink and make your creations dishwasher-safe.
4. Allow the mug to cool completely before using or gifting it to someone special. Enjoy your personalized coffee masterpiece!
2: DIY Friendship Bracelets
Materials: To create these stylish and trendy friendship bracelets, gather colorful embroidery floss, scissors, and optional beads or charms.
Step-by-Step Tutorial:
1. Cut three strands of embroidery floss, each measuring approximately 24 inches long.
2. Tie a knot at one end, leaving a small loop. This will serve as the starting point for your bracelet.
3. Separate the strands into three groups and start braiding them together. You can experiment with different patterns, such as chevron or fishtail.
4. Continue braiding until you've reached your desired bracelet length. Then, tie another knot to secure the braid.
5. Optional: Add beads or charms to your bracelet by threading them onto the strands before tying the final knot.
6. Trim any excess floss, and your friendship bracelet is ready to be shared with a special friend!
3: Upcycled Tin Can Planters
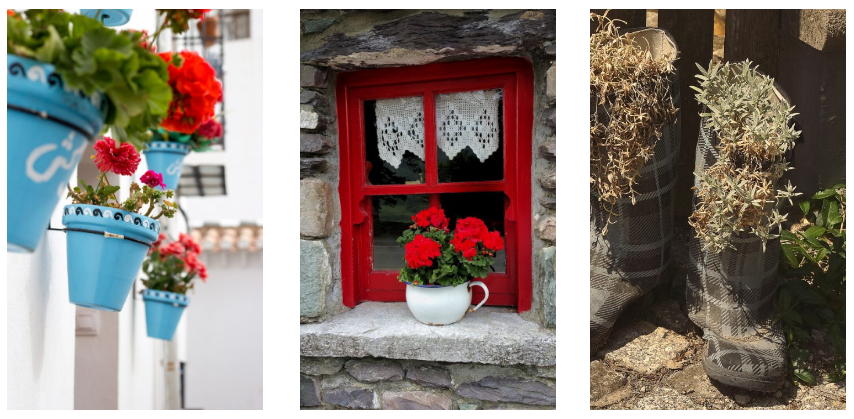
Materials: For this eco-friendly craft, gather clean tin cans, acrylic paint, paintbrushes, potting soil, and small plants or herbs. (See photo ideas below for more upcycled materials you can use as planters.)
Step-by-Step Tutorial:
1. Start by removing any labels or stickers from the tin cans. Make sure they are clean and dry.
2. Use acrylic paint to decorate the cans with your favorite colors and patterns. Let your creativity shine!
3. Once the paint is dry, fill the cans with potting soil and plant your chosen plants or herbs.
4. Water them regularly and place them in a sunny spot to watch your mini garden flourish!
4: DIY Dreamcatchers
Materials: To create these boho-inspired dreamcatchers, you'll need a metal or wooden hoop, embroidery hoop, yarn or twine, feathers, beads, and a hot glue gun.
Step-by-Step Tutorial:
1. Wrap yarn or twine around the metal or wooden hoop, covering it completely. Secure the ends with a knot or hot glue.
2. Attach an embroidery hoop inside the larger hoop for added texture and dimension.
3. Decorate your dreamcatcher by adding feathers, beads, and any other embellishments you desire. Use a hot glue gun to secure them in place.
4. Attach a string or twine to the top of the hoop for hanging.
5. Hang your dreamcatcher above your bed to catch any bad dreams and ensure a peaceful night's sleep.
5. DIY Tie-Dye T-Shirts
Materials: For this groovy and fun craft, gather a plain white t-shirt, fabric dye in various colors, rubber bands, plastic squeeze bottles, and a plastic cover or garbage bag to protect your work area.
Step-by-Step Tutorial:
1. Dampen the t-shirt to help the dye absorb better.
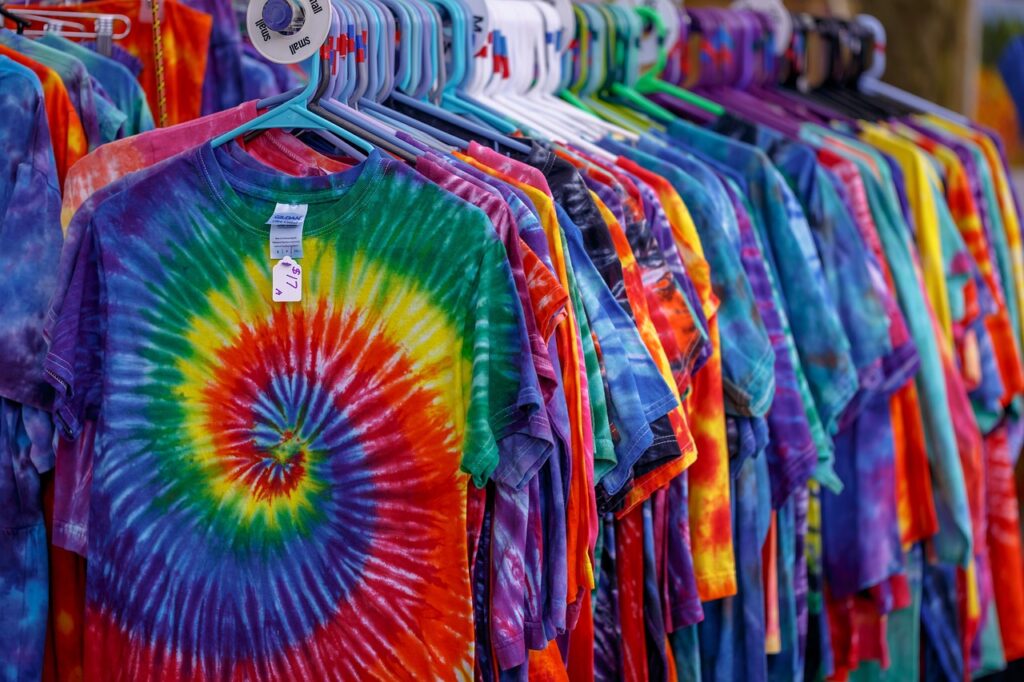
2. Pinch the fabric and twist it into a spiral shape. Secure it with rubber bands, creating sections that will be dyed.
3. Prepare the fabric dye according to the instructions on the packaging, using different colors for each section of the shirt.
4. Apply the dye to the sections, making sure to saturate the fabric completely. Use the squeeze bottles to control the flow of dye and create different patterns.
5. Once the dye is applied, place the shirt in a plastic bag or cover it with plastic wrap. Let it sit for at least 6-8 hours to allow the dye to set.
6. Rinse the shirt under cold water until the water runs clear. Remove the rubber bands and wash the shirt separately before wearing it proudly!
6: DIY Embroidered Hoop Art
Materials: To create these beautiful embroidered hoop art pieces, you'll need an embroidery hoop, fabric, embroidery floss, embroidery needles, and a pen or pencil for sketching your design.
Step-by-Step Tutorial:
1. Start by stretching the fabric onto the embroidery hoop, ensuring it is taut.
2. Use a pen or pencil to lightly sketch your desired design onto the fabric.
3. Thread your embroidery needle with the desired color of embroidery floss and begin stitching your design. You can use different stitches such as backstitch, satin stitch, or French knots to add texture and detail.
4. Continue stitching until your design is complete, taking your time to create a beautiful piece of hoop art.
5. Once finished, trim any excess fabric and display your embroidered hoop art proudly on a wall or as a gift.
7: DIY Beaded Keychains
Materials: To create these stylish and functional keychains, gather beads of your choice, keychain rings, jewelry pliers, and beading wire or cord.
Step-by-Step Tutorial:
1. Cut a length of beading wire or cord, ensuring it is long enough to accommodate your desired number of beads.
2. Thread the beads onto the wire or cord, creating your own unique pattern or design.
3. Once all the beads are in place, use jewelry pliers to attach the keychain ring to one end of the wire or cord.
4. Secure the wire or cord by making a few loops around the keychain ring and trimming any excess.
5. Attach your homemade beaded keychain to your keys or gift it to a friend for a personalized touch.
8: DIY Painted Rocks
Materials: For this fun and creative craft, gather smooth rocks, acrylic paints, paintbrushes, and a clear sealer (optional).
Step-by-Step Tutorial:
1. Start by cleaning the rocks and letting them dry completely.

2. Use acrylic paints to create your desired designs on the rocks. You can paint animals, flowers, or even inspirational quotes.
3. Let the paint dry between each layer or color to avoid smudging.
4. Optional: Once the paint is dry, apply a clear sealer to protect your artwork.
5. Display your painted rocks in your garden, on a windowsill, or use them as paperweights. They also make wonderful gifts for friends and family.

9: DIY Beeswax Wrap
Materials: To make these eco-friendly and reusable food wraps, gather beeswax pellets, cotton fabric, pinking shears (optional), and parchment paper.
Step-by-Step Tutorial:
1. Cut the cotton fabric into your desired size and shape using regular scissors or pinking shears for a decorative edge.
2. Place the fabric on a sheet of parchment paper and sprinkle beeswax pellets evenly over the fabric, leaving a small border around the edges.
3. Cover the fabric and beeswax with another sheet of parchment paper.
4. Use a hot iron to melt the beeswax, allowing it to soak into the fabric. Apply even pressure and ensure all the pellets have melted.
5. Remove the top parchment paper and let the beeswax wrap cool and harden.
6. Once cooled, your beeswax wrap is ready to use. Simply mold it with the heat of your hands to cover bowls or wrap food items.
10: DIY Paper Flower Bouquet
Materials: For this everlasting floral craft, gather colored paper, green pipe cleaners, craft wire, scissors, and a hot glue gun.
Step-by-Step Tutorial:
1. Cut flower shapes out of colored paper. You can make roses, daisies, or any other flower of your choice.
2. Cut leaves out of green paper or use green pipe cleaners as stems.
3. Use craft wire to create the flower stems by wrapping the wire around the base of each flower and attaching it to the pipe cleaner or leaf.
4. Optional: Use a hot glue gun to secure the flower and its stem.
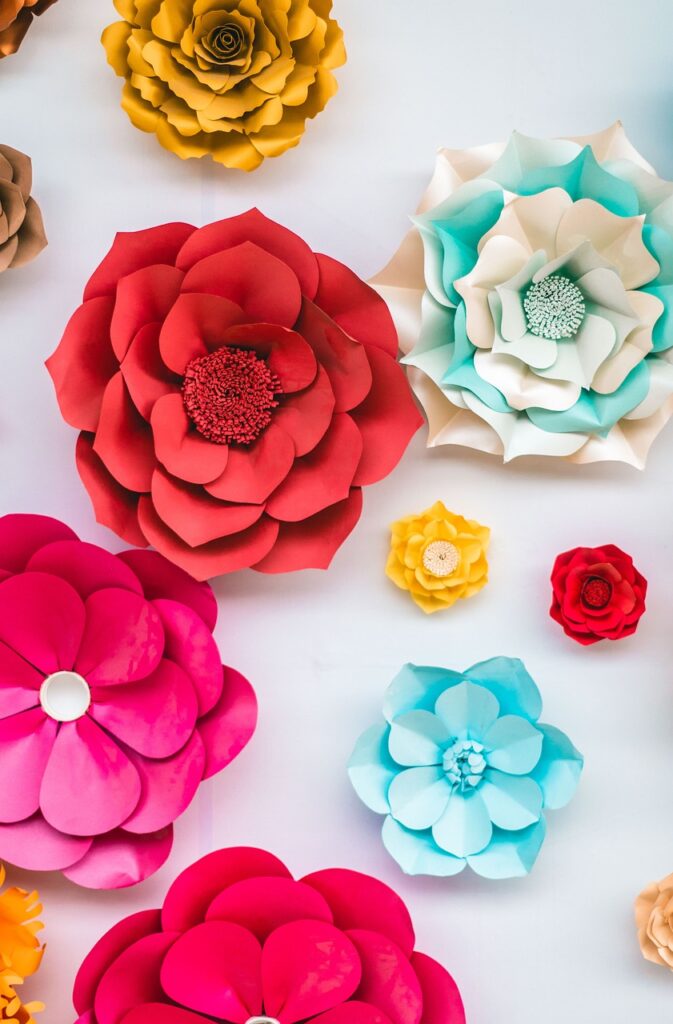
5. Arrange your paper flowers into a bouquet, either in a vase or by tying them together with a ribbon.
Conclusion:
There you have it – 10 easy and fun craft tutorials for beginners! From seasoned crafter looking for new ideas or complete novice eager to dive in, I hope you agree this tutorial offers a great starting point. So, gather your supplies, let your imagination run wild, and just go for it with abandon! 😉

